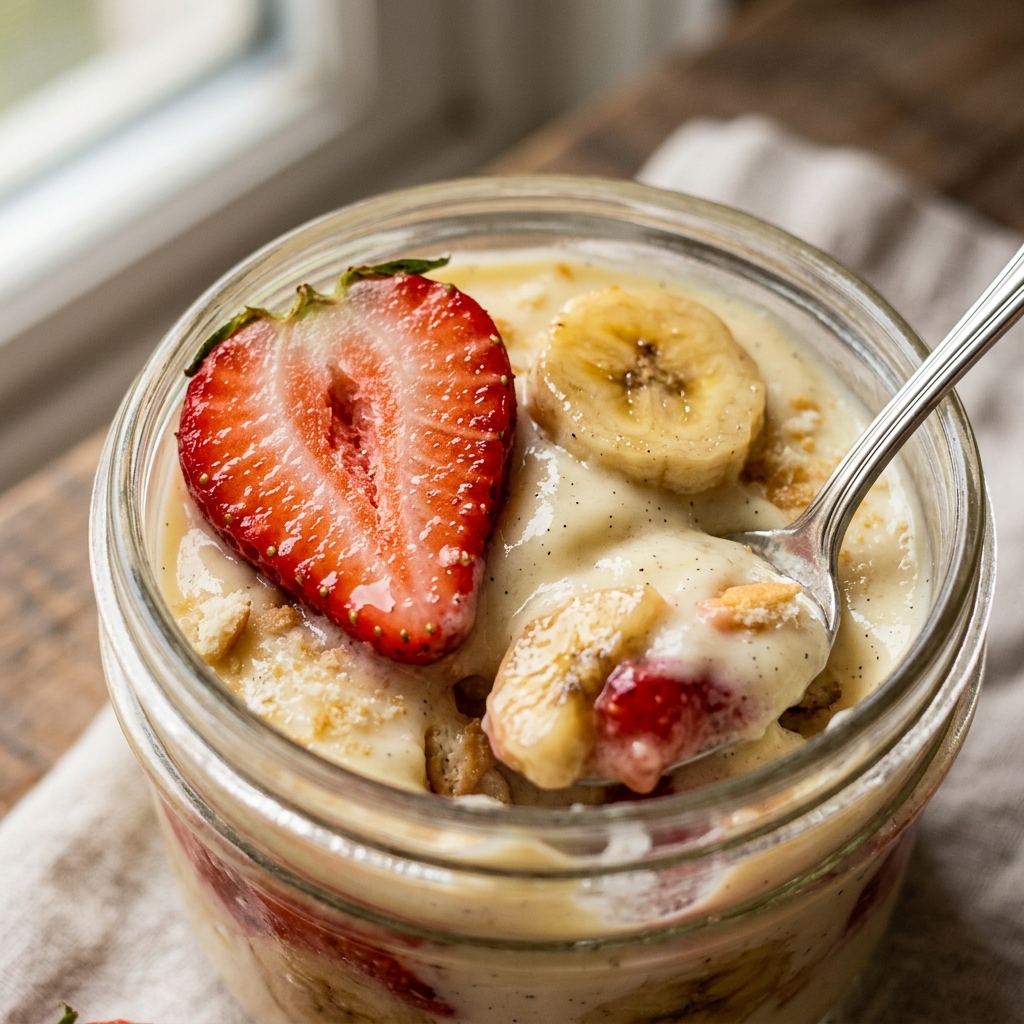
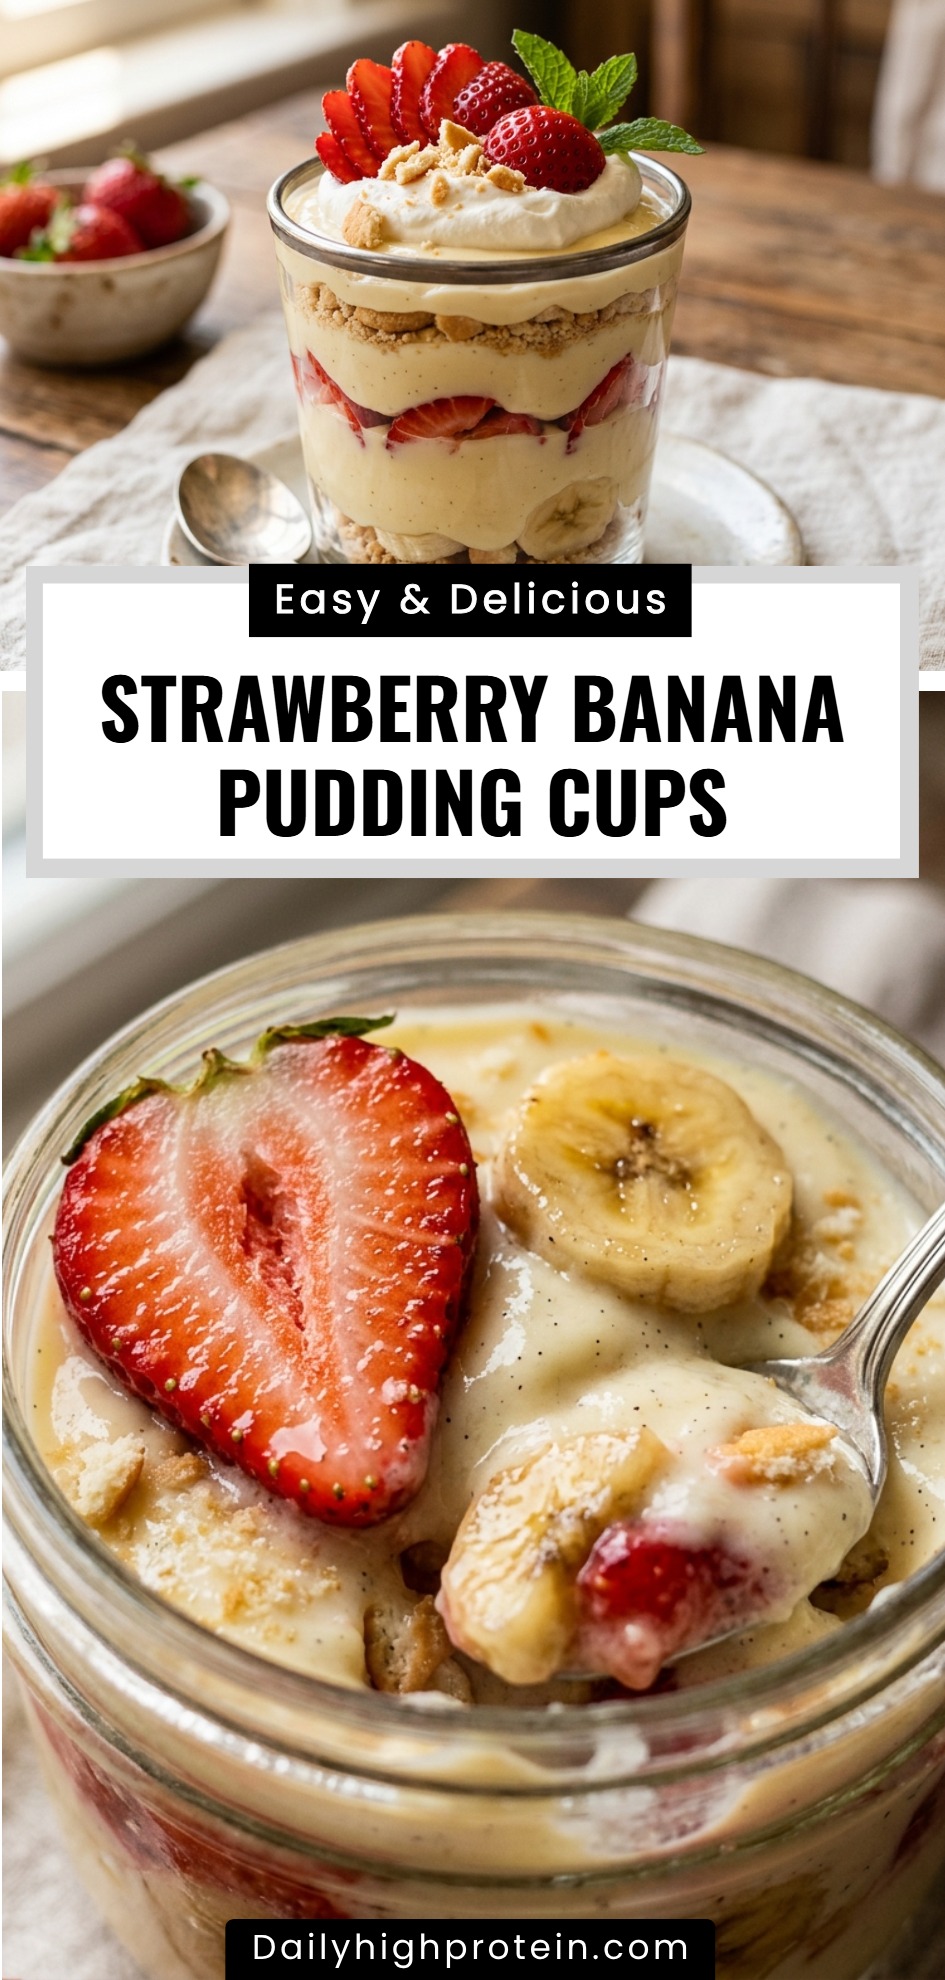
Strawberry Banana Pudding Cups are a delightful twist on a classic Southern comfort dessert. By combining the creamy, nostalgic flavor of banana pudding with the bright, juicy sweetness of fresh strawberries, you get a treat that is both refreshing and satisfying. These individual servings make them perfect for parties, picnics, or a simple weeknight dessert that looks as good as it tastes.
The beauty of this dessert lies in its simplicity. It requires no baking and only a handful of ingredients. The layers of crunchy vanilla wafers, smooth pudding, and fresh fruit create a wonderful contrast of textures in every spoonful. Whether you are a seasoned baker or a beginner in the kitchen, these pudding cups are a foolproof way to impress your family and friends.
Recipe Information
- Prep Time: 20 minutes
- Cook Time: 0 minutes
- Total Time: 20 minutes
- Servings: 6 cups
- Difficulty Level: Easy
Nutrition Information
- Calories per serving: 285 kcal
- Protein: 4g
- Carbohydrates: 48g
- Fat: 9g
- Fiber: 2g
- Sugar: 32g
- Sodium: 310mg
Why Make This Strawberry Banana Pudding Cups
You should make these Strawberry Banana Pudding Cups because they offer the perfect balance of flavors. While traditional banana pudding is delicious, the addition of strawberries provides a tartness that cuts through the creamy sweetness. This makes the dessert feel lighter and more vibrant, especially during the warmer months when berries are at their peak.
Another great reason to make this recipe is the convenience of individual portions. Serving dessert in cups means no messy slicing or scooping at the table. Everyone gets their own perfectly layered treat, which also makes them highly portable for outdoor gatherings. Plus, they can be customized easily to suit different dietary needs or taste preferences.
How to Make Strawberry Banana Pudding Cups
Making these cups is a fun and easy process that involves simple whisking and layering. It is a great activity to do with kids, as they will love assembling the different layers and seeing the colorful fruit through the sides of the glasses. Follow these simple steps to create a dessert that is both beautiful and delicious.
Ingredients
- 1 package (3.4 oz) instant vanilla pudding mix
- 2 cups cold whole milk
- 1 cup whipped topping (like Cool Whip), thawed
- 1 box (11 oz) vanilla wafer cookies
- 2 large ripe bananas, sliced
- 2 cups fresh strawberries, hulled and sliced
- 1 teaspoon lemon juice (optional, to toss with bananas)
- Fresh mint leaves for garnish (optional)
Directions
Step 1: Prepare the Fruit
Start by washing and drying your strawberries. Remove the green stems and slice them into thin rounds or wedges. Peel your bananas and slice them into coins. If you aren’t serving the cups immediately, toss the banana slices in a tiny bit of lemon juice to prevent them from browning too quickly.
Step 2: Prepare the Pudding Base
In a large mixing bowl, combine the instant vanilla pudding mix and the cold milk. Whisk the mixture vigorously for about two minutes until it begins to thicken. Let it sit for an additional five minutes to reach a firm consistency.
Step 3: Fold in the Cream
Gently fold half of the whipped topping into the prepared pudding. Use a spatula to incorporate it slowly so the mixture remains light and airy. This creates a “mousse-like” texture that is much softer and creamier than plain pudding.
Step 4: Layer the Cups
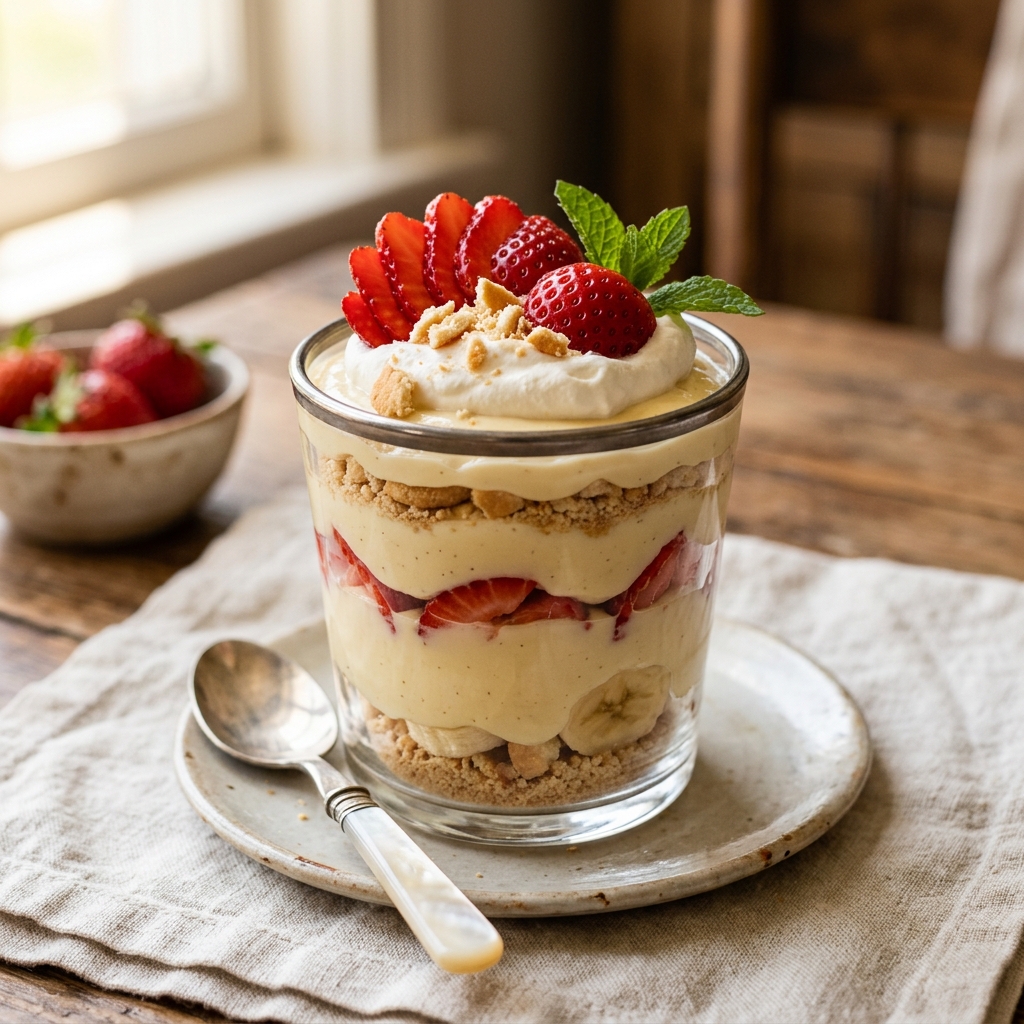
Take six clear glass cups or jars. Place a layer of vanilla wafers at the bottom of each cup (you can crush them slightly if needed). Follow with a layer of banana slices and strawberry slices. Spoon a generous layer of the pudding mixture over the fruit.
Step 5: Repeat and Garnish
Repeat the layers one more time: wafers, fruit, and pudding. Finish each cup with a dollop of the remaining whipped topping. For a professional look, add a final strawberry slice and a whole vanilla wafer on top as a garnish.
Step 6: Chill and Set
Place the cups in the refrigerator for at least 30 minutes before serving. This allows the vanilla wafers to soften slightly and the flavors to meld together beautifully.
How to Serve Strawberry Banana Pudding Cups
Serve these cups chilled directly from the refrigerator. If you are hosting a party, you can display them on a tiered dessert stand or a rustic wooden board. For an extra touch of elegance, sprinkle some graham cracker crumbs or white chocolate shavings on top just before serving. They are best enjoyed with a small dessert spoon so you can get every layer in one bite.
How to Store Strawberry Banana Pudding Cups
These pudding cups are best enjoyed within 24 hours of assembly. Store them in the refrigerator, covered with plastic wrap or lids. While they will stay safe to eat for up to 2 days, the bananas may begin to soften significantly and the cookies will lose their crunch over time. It is not recommended to freeze this dessert, as the texture of the pudding and fresh fruit will change once thawed.
Expert Tips for Perfect Strawberry Banana Pudding Cups
For the best results, use “cold” milk when mixing the pudding; this ensures it sets properly. If you want a more homemade taste, you can swap the whipped topping for freshly whipped heavy cream sweetened with a bit of powdered sugar. Additionally, try to choose bananas that are yellow with just a few brown spots; they are sweet enough to provide flavor without being too mushy for slicing.
Delicious Variations
You can easily switch up the flavors by using cheesecake or white chocolate pudding mix instead of vanilla. If you want a bit more crunch, try using chopped pecans or toasted coconut between the layers. For a chocolatey twist, drizzle a little bit of chocolate syrup over the strawberry layers or use chocolate-flavored wafers instead of the traditional vanilla ones.
Frequently Asked Questions
Q: Can I use frozen strawberries for this recipe?
Fresh strawberries are highly recommended. Frozen berries release a lot of liquid when they thaw, which can make the pudding watery and the cookies soggy.
Q: How do I keep the bananas from turning brown?
Tossing the banana slices in a little bit of lemon or pineapple juice provides a protective acidic layer that slows down oxidation and keeps them looking fresh.
Q: Can I make this in a large trifle bowl instead of individual cups?
Yes! You can follow the same layering process in a large glass bowl. You may need to double the ingredients depending on the size of your dish.
Q: Is there a dairy-free version of this recipe?
You can use a dairy-free pudding mix and substitute the milk with almond or oat milk. However, be aware that instant pudding often requires less liquid when using non-dairy milk to set correctly.
Q: Can I use homemade pudding instead of instant mix?
Absolutely! If you have the time, a cooked homemade vanilla custard will taste even better. Just make sure the homemade pudding is completely cooled before you begin layering.
Conclusion
Strawberry Banana Pudding Cups are a simple, nostalgic, and incredibly tasty dessert that everyone will love. They bring a pop of color to any table and a burst of fresh flavor to every palate. Give this easy recipe a try for your next gathering, and watch how quickly they disappear!
Strawberry Banana Pudding Cups
- Total Time: 20 minutes
Ingredients
1 package (3.4 oz) instant vanilla pudding mix; 2 cups cold whole milk; 1 cup whipped topping (like Cool Whip), thawed; 1 box (11 oz) vanilla wafer cookies; 2 large ripe bananas, sliced; 2 cups fresh strawberries, hulled and sliced; 1 teaspoon lemon juice (optional, to toss with bananas); Fresh mint leaves
Instructions
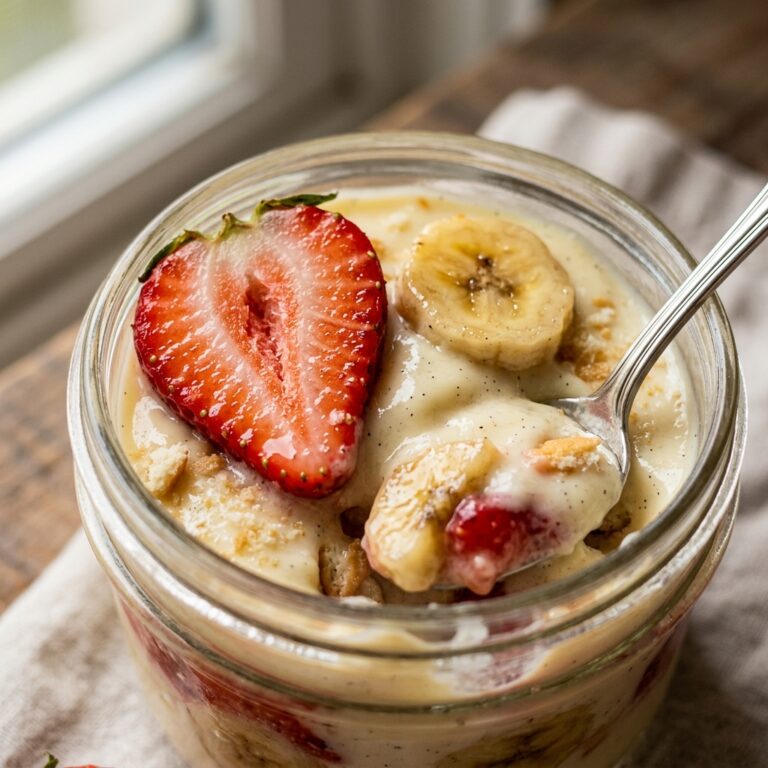
Making these cups involves simple whisking and layering. Assemble the dessert by creating layers of crunchy vanilla wafers, smooth pudding, and fresh fruit in individual cups to create a contrast of textures and a beautiful presentation. It is a great activity to do with kids, as they will love seeing the colorful fruit through the sides of the glasses.
- Cook Time: 20 minutes
- Diet: Vegetarian