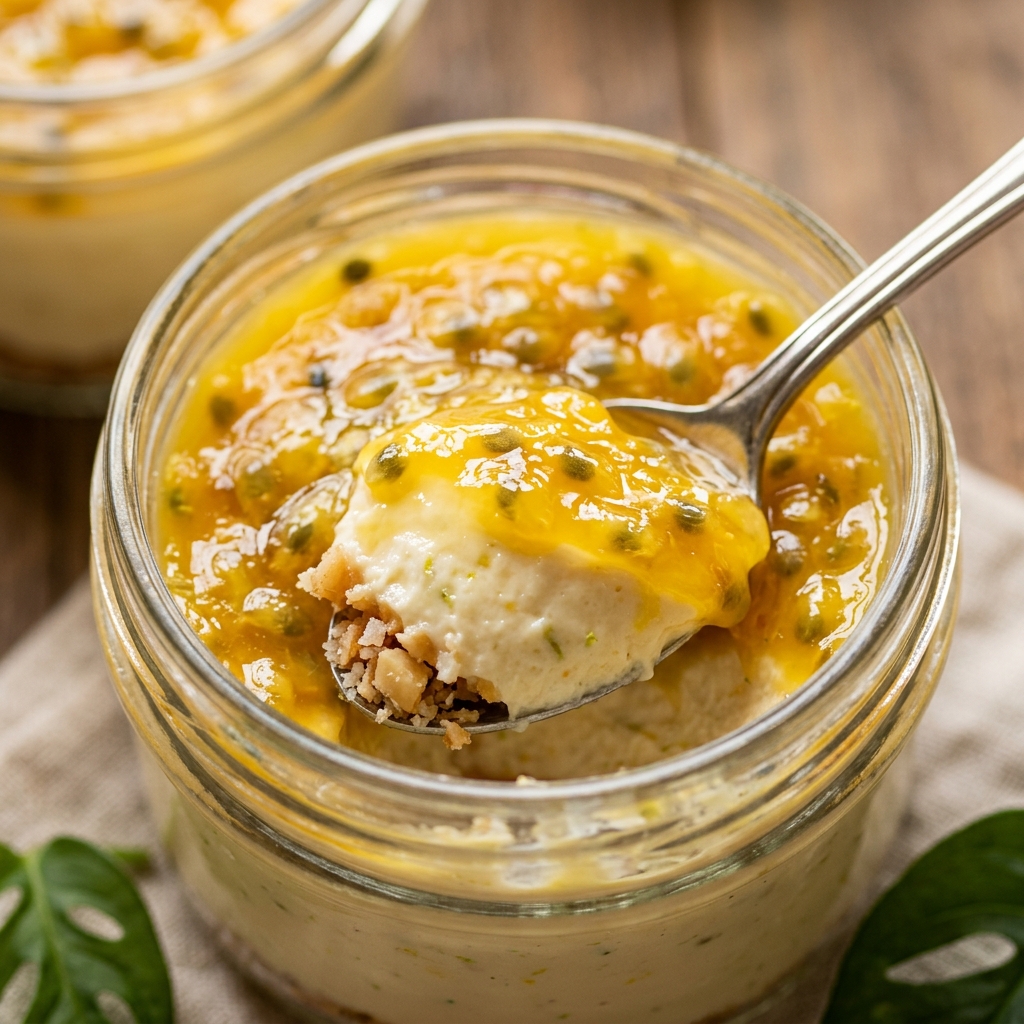
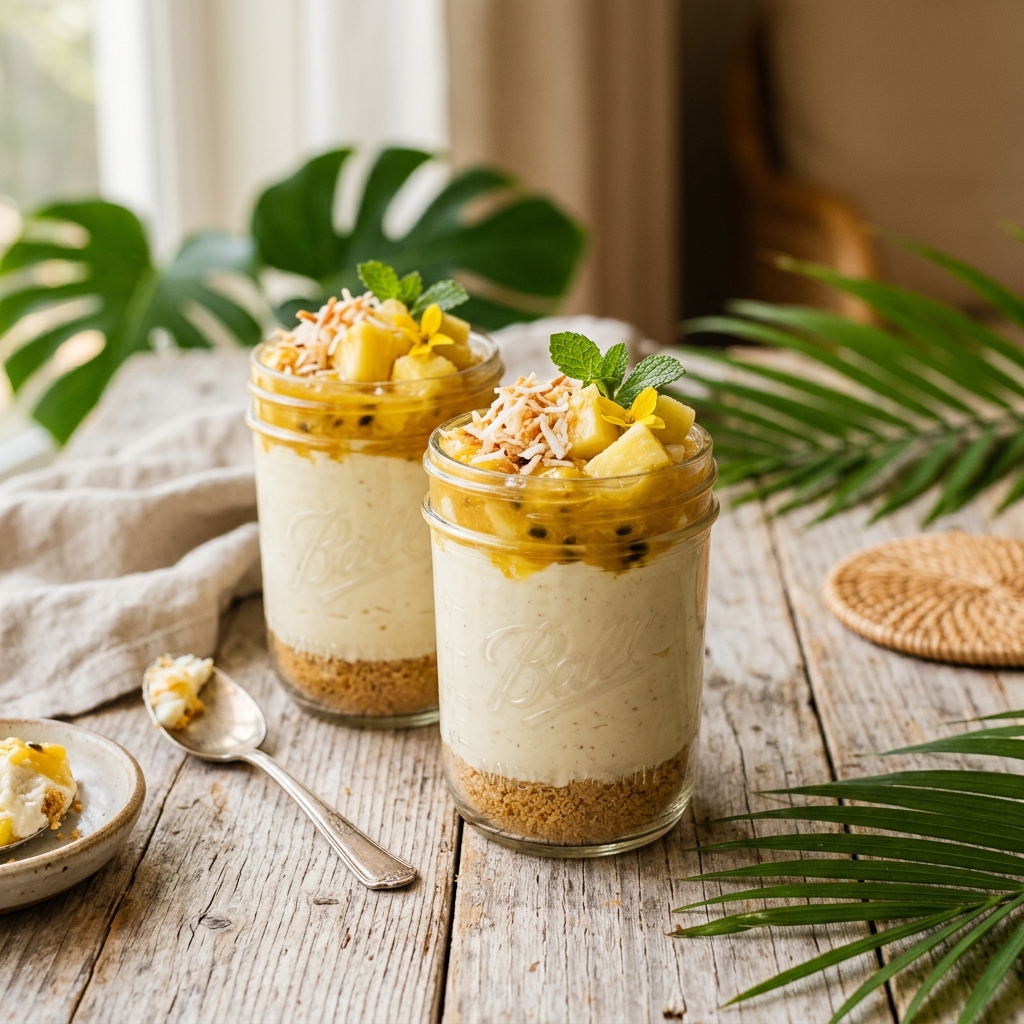
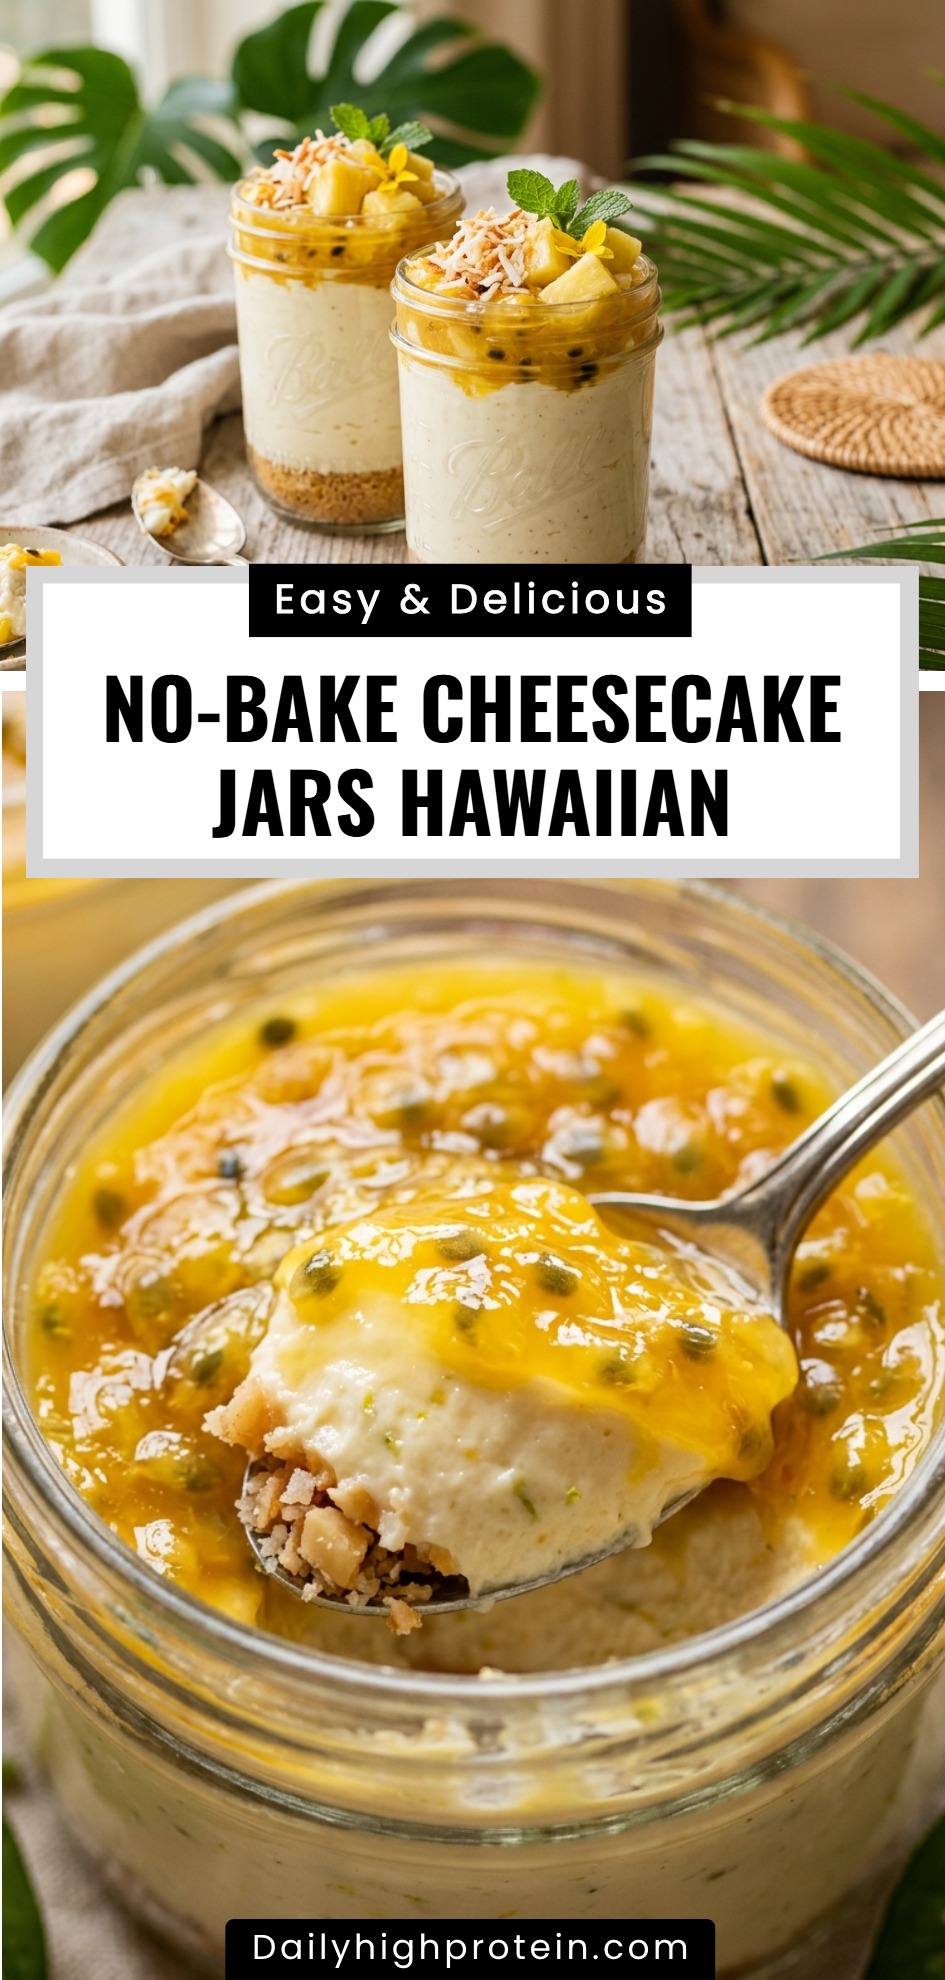
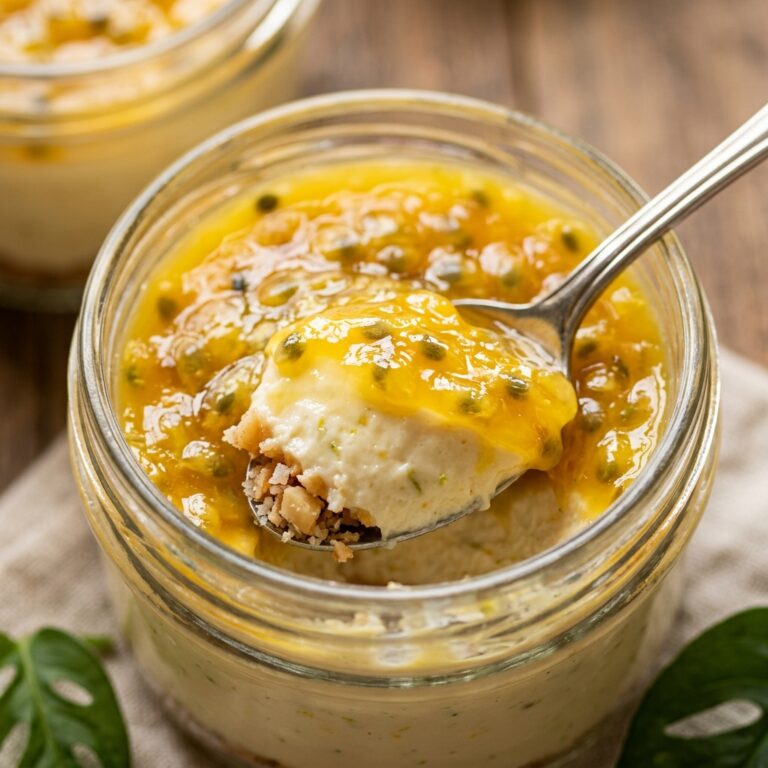
Imagine bringing the flavors of a tropical paradise straight to your kitchen without ever turning on the oven. These No-Bake Cheesecake Jars Hawaiian are a delightful blend of creamy cheesecake, tangy pineapple, and toasted coconut, all layered perfectly in individual glass jars. They offer a refreshing escape that is as beautiful to look at as it is delicious to eat.
Whether you are hosting a summer backyard BBQ or just want a light treat after dinner, these jars offer the ultimate convenience. They are portable, portion-controlled, and packed with the sunny taste of the islands. Because they require no baking, they are the perfect stress-free dessert for busy hosts and families alike.
Recipe Information
- Prep Time: 25 minutes
- Cook Time: 0 minutes
- Total Time: 25 minutes
- Servings: 6 jars
- Difficulty Level: Easy
Nutrition Information
- Calories per serving: 445 kcal
- Protein: 5g
- Carbohydrates: 38g
- Fat: 31g
- Fiber: 2g
- Sugar: 24g
- Sodium: 290mg
Why Make This No-Bake Cheesecake Jars Hawaiian
This recipe is a lifesaver during hot months when you want a decadent dessert without heating up your home. The combination of pineapple and coconut provides a classic Hawaiian “Piña Colada” flavor profile that feels both sophisticated and nostalgic. It is a crowd-pleaser that appeals to both kids and adults.
The jar format also makes these incredibly easy to transport and store. You can pack them in a cooler for a picnic or prepare them a full day ahead for a party. Plus, the distinct layers visible through the glass make for a stunning presentation that looks like it came straight from a high-end bakery.
How to Make No-Bake Cheesecake Jars Hawaiian
Creating these tropical treats is a simple process of layering textures and bright flavors. You will start with a buttery crust base, follow with a velvety tropical filling, and finish with vibrant garnishes that add a delightful crunch.
Ingredients
- 1.5 cups graham cracker crumbs
- 1/4 cup unsalted butter, melted
- 16 oz cream cheese, softened to room temperature
- 1/2 cup granulated sugar
- 1/2 cup crushed pineapple, very well drained
- 1/4 cup coconut cream (the thick part from a can)
- 1 tsp vanilla extract
- 1 cup heavy whipping cream, whipped to stiff peaks
- 1/2 cup toasted shredded coconut
- 1/4 cup chopped macadamia nuts
- 6 maraschino cherries for garnish
Directions
Step 1: Prepare the Graham Cracker Crust
In a medium mixing bowl, combine the graham cracker crumbs with the melted butter. Stir with a fork until the mixture resembles wet sand. Divide the mixture evenly among six half-pint mason jars. Press the crumbs down firmly into the bottom of each jar using the back of a spoon or a small spice jar to create a solid base.
Step 2: Beat the Cream Cheese Base
In a large bowl, beat the softened cream cheese and granulated sugar together using a hand mixer or stand mixer. Continue mixing on medium-high speed for about 3 minutes until the mixture is completely smooth, light, and fluffy. Ensure there are no lumps before proceeding to the next step.
Step 3: Incorporate Tropical Flavors
Add the well-drained crushed pineapple, coconut cream, and vanilla extract to the cream cheese mixture. Beat on low speed just until combined. It is vital that the pineapple is drained thoroughly to prevent the cheesecake filling from becoming too watery.
Step 4: Fold in the Whipped Cream
Using a rubber spatula, gently fold the whipped heavy cream into the cream cheese mixture. Use a slow, circular motion to keep the filling airy and light. Continue folding until no white streaks remain and the filling is uniform in texture.
Step 5: Layer the Jars
Spoon or pipe the cheesecake filling into the jars on top of the graham cracker crust. Smooth the tops with a small offset spatula or the back of a spoon. Leave about half an inch of space at the top of the jar for your toppings.
Step 6: Chill and Set
Wipe any smudges off the inside rims of the jars for a clean look. Place the lids on the jars or cover them with plastic wrap. Refrigerate for at least 2 hours, though 4 hours or overnight is recommended for the best texture and flavor development.
Step 7: Add Final Garnishes
Just before serving, top each jar with a generous sprinkle of toasted coconut and chopped macadamia nuts. Place a maraschino cherry in the center. Serve chilled with a small spoon.
How to Serve No-Bake Cheesecake Jars Hawaiian
These jars are best served directly from the refrigerator. For a truly tropical experience, you can serve them alongside fresh fruit skewers or a chilled glass of pineapple juice. If you are serving them at a party, consider tying a small wooden spoon to the side of each jar with twine for a rustic, island-themed presentation.
How to Store No-Bake Cheesecake Jars Hawaiian
Keep these cheesecake jars refrigerated at all times. They will stay fresh and delicious for up to 4 days. If you are preparing them more than a few hours in advance, wait to add the macadamia nuts and toasted coconut until the moment of serving to ensure they stay perfectly crunchy.
Expert Tips for Perfect No-Bake Cheesecake Jars Hawaiian
The most important tip is to ensure your cream cheese is truly at room temperature; cold cream cheese will result in a lumpy filling. Additionally, if you want an extra boost of coconut flavor, add half a teaspoon of coconut extract to the filling. For the pineapple, use a fine-mesh sieve to press out as much liquid as possible before adding it to the mix.
Delicious Variations
For a “Lava Flow” twist, add a layer of strawberry purée between the crust and the cheesecake filling. You can also substitute the graham cracker crumbs for crushed vanilla wafers or ginger snaps for a different flavor profile. If you prefer a more citrusy note, a teaspoon of lime zest added to the filling will brighten the flavors beautifully.
Frequently Asked Questions
Q: Can I use low-fat cream cheese for this recipe?
You can, but the texture will not be as rich or firm. For the best “cheesecake” experience, full-fat cream cheese is highly recommended.
Q: Can I freeze these cheesecake jars?
Yes, these jars freeze very well. Just make sure to leave a little extra headspace at the top for expansion. Thaw them in the refrigerator for 2-3 hours before serving.
Q: What is coconut cream and where do I find it?
Coconut cream is the thick, fatty layer found at the top of a can of full-fat coconut milk. You can also buy cans specifically labeled as “Cream of Coconut,” but these are often sweetened, so adjust your sugar accordingly.
Q: How do I toast the shredded coconut?
Place the coconut in a dry skillet over medium heat. Stir constantly for 3-5 minutes until it turns a light golden brown. Remove from the heat immediately as it can burn quickly.
Q: Can I use fresh pineapple instead of canned?
Yes! Finely chop fresh pineapple and let it sit in a strainer for 10 minutes to drain the excess juice before adding it to the recipe.
Conclusion
No-Bake Cheesecake Jars Hawaiian are a delightful, easy-to-make dessert that brings a taste of summer to any occasion. With their creamy texture and tropical flair, they are sure to become a requested favorite in your home. Simple to prep and stunning to serve, these little jars prove that you don’t need an oven to create a masterpiece.
No-Bake Cheesecake Jars Hawaiian
- Total Time: 25 minutes
Ingredients
1.5 cups graham cracker crumbs, 1/4 cup unsalted butter (melted), 16 oz cream cheese (softened to room temperature), 1/2 cup granulated sugar, 1/2 cup crushed pineapple (very well drained), 1/4 cup coconut cream (the thick part from a can), 1 tsp vanilla extract, 1 cup heavy whipping cream (whipped to stiff peaks), 1/2 cup toasted shredded coconut, 1/4 cup chopped macadamia nuts, 6 maraschino cherries for garnish
Instructions
Creating these tropical treats is a simple process of layering textures and bright flavors. You will start with a buttery crust base, follow with a velvety tropical filling, and finish with vibrant garnishes that add a delightful crunch. Step 1: Prepare the Graham Cracker Crust: In a medium mixing bowl, combine the graham cracker crumbs and melted butter.
- Cook Time: 25 minutes
- Diet: Vegetarian